
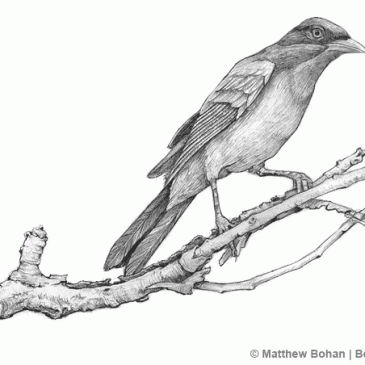
Common Grackle
Common grackles are interesting birds. They are icterids, related to the blackbirds and orioles. Male birds have a beautiful iridescence to their feathers. These intelligent birds are capable of mimicry and have been known to even copy the human voice.
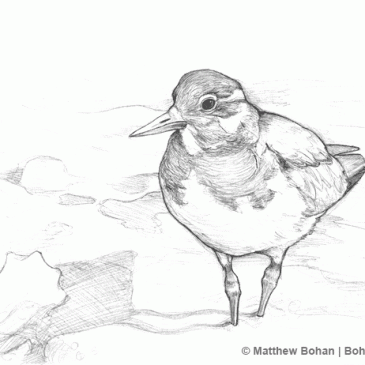
Winter Ruddy Turnstone Pencil Sketch
Turnstones are pretty birds. They are a little less attractive in their winter plumage, but still full of character. This bird was in the surf at Sanibel Island in Florida looking for dinner in the crushed up shells. He was … Continued
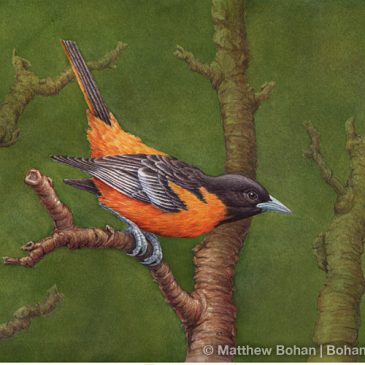
Baltimore Oriole Transparent Watercolor Step-by-Step
Getting to see Baltimore orioles right outside your kitchen window is just about as good as it gets. The past few years we have been treated to orioles that come to our jelly feeder. We previously had tried putting … Continued

Tiny Spider Pencil Sketch
I found this tiny spider in our bird cage while cleaning it. It was only about 1/16 of an inch!

Blue Jay on Stump Pencil Sketch
Blue jays area regulars visitor to our peanut feeder. I drilled out a log on my drill press so I could fill it up with peanuts. Its a bit more natural looking than the mass produced feeders. Having the birds perched … Continued
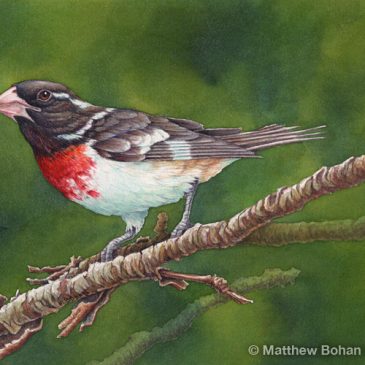
Rose-breasted Grosbeak Step-by-Step Transparent Watercolor
We love getting rose-breasted grosbeaks at our feeders in the summer. A fairly constant stream visits until late summer when they start to disappear. These gorgeous animals are one of the reasons I became obsessed with birds.
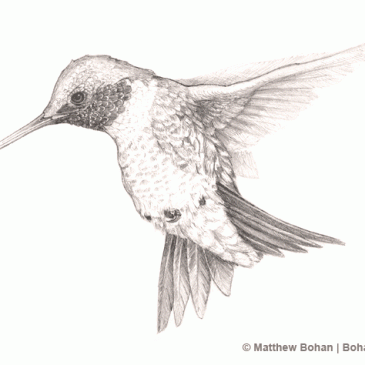
Ruby-throated Hummingbird Pencil Sketch
Ruby-throated hummingbirds have great attitude and seem to exude total confidence. When we moved into our house we went about planting gardens, shrubs and trees to attract birds and butterflies. We supplement the natural selection of food with feeders. Typically … Continued
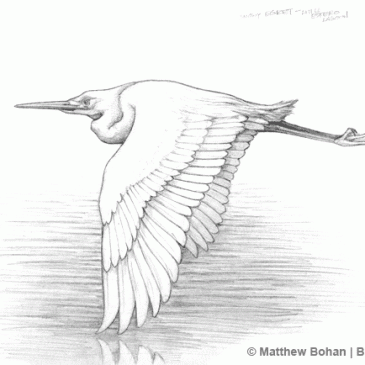
Snowy Egret Pencil Sketch
Snowy egrets are undeniably attractive birds. To my eye they seem perfectly designed. This cooperative bird was in Little Estero Lagoon in the Ft. Myers, Florida area. It is a fantastic place to see and photograph birds in morning light.
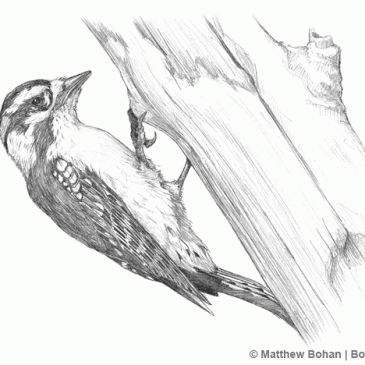
Downy Woodpecker Pencil Sketch
Winters in Michigan can be pretty slow for birding. Although we don’t see much variety, our feeders do tend to explode with familiar faces. One of the welcome sights is the stream of downy woodpeckers at the suet feeders. There … Continued
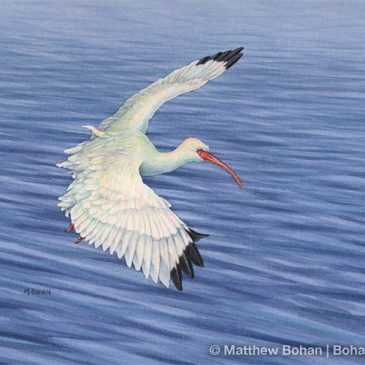
White Ibis Landing Transparent Watercolor
A few years ago I went on a winter trip to southern Florida to photograph birds with my brother Ted. He kindly sponsored the whole trip. We had a fantastic time even if the weather wasn’t the most cooperative. … Continued